Translate

Sunday, September 7, 2014

Gingerbread cookies

I was talking to my friend, Karen, and we got to remembering large soft, chewy gingerbread cookies. Not the crispy ones, not the dry ones, not the thin ones...but the thick, soft, warm, chewy ones.  It got us looking for recipes for such a thing.  We found many, but I decided to go with this one:

 http://www.allrecipes.com/recipe/big-soft-ginger-cookies.com

 and they could not be better I tell ya!  I put them in a tin, and already they are disappearing faster than....well you know....and right into my stomach!  I can't help myself.  It is a feeling of fall in the air...it calls for pumpkin spice lattes, and gingerbread!  RIGHT?????


I used my empty gingerbread tin that I bought at IKEA a few weeks ago.  Ahhhhhhh.....

Saturday, August 30, 2014

More paper flowers!


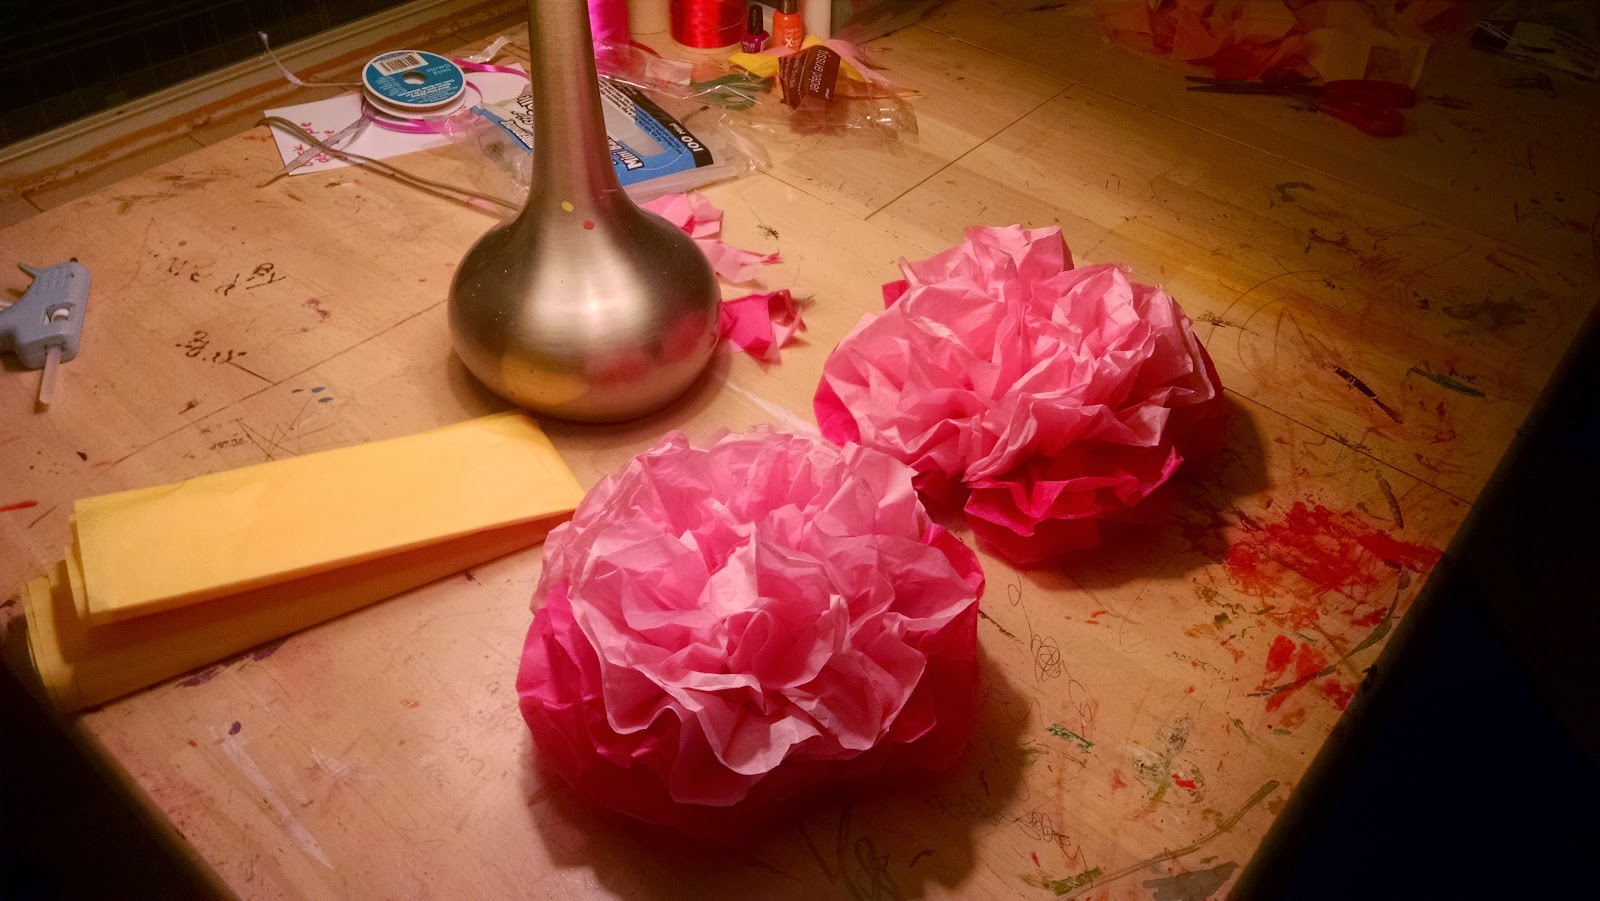
Continuing on with making for of the flowers for Granddaughters 6th birthday party!  Here are two 8 inch flowers my friend and I decided to try yesterday.  I will use for the top of the birthday gift!  It will be so pretty, don't you think?
 Here you can see size in relation to table and lamp. These were done a bit different, since they have a rounded flower head rather than a flower center.  This was done by putting the paperclip in the center of the fan-folded tissue papers, and by cutting petal shape on both ends. If you watch the video on how to make them on my last post, you will understand what I am saying here. My once dining room table has become a demolished crafting area, hasn't it?  I love it.  No worries, all fun!
 Here is the 3 ft. pink flower for the My Little Pony called Pinky Pie. It is made with light and dark pink tissue paper.
And the flower for Princess Celestia.  Using white, light blue, light purple, light pink and gold.
Pay no attention to that old woman in the photo!
I have two more to put on the blog.  One is made...and one more to make this morning.  I will be glad to have them finished, as this project does hurt my back.  I have to stand over the table, bent over a bit, and with having my arms outstretched, making repetitive movements, I have to take 2 or 3 Ibuprofen before I start each day.  That helps.  I have made three large flowers on each day the past two days, and the last one will be done this morning.  Yeah!  I will get pictures of the party venue too.

Thursday, August 28, 2014

Making giant paper flowers!

To decorate my granddaughter's party area.  I found this video on YouTube:


and have made 3 huge flowers now from tissue paper.

She is obsessed with the Equestria Girls, which are the My Little Pony's gone human!  Anyway, the space where she will have her party is made for the addition of giant flowers all around, and each one is the special colors of each Equestria Girl.  Trying to go for a ballroom affect, in a round about kinda way!  I am thinking I may hang some tulle from each one to fancy it up even more, but am worried about them being able to be pulled down by little hands.  We shall see.  Anyway, here are some I have made.

Orange and yellow for Applejack,..... and purple and white for Rarity:
Rainbow colors for Rainbow Dash:
                           
It's hard to tell from the photos, but the middles are sunken down inside, and that there is a section of bright orange tissue paper between the red and yellow.  Each one is about 2.5-3 ft in diameter!  I will need to do some finally fluffing.  They are hot glued into a plastic lid just like in the video.  It will be easy to staple them into wood for hanging.  Now only 4 more to go.

I really appreciated the video and easiness of making these flowers.  A lot of bang for your buck!

I will show the final 4 when I get them done tomorrow!
Ever onward!
XOXO- Julie


Flowers from the garden yesterday!


Sunday, August 24, 2014

A fall embroidery!

I am a very cheap person.  Most of you probably know that already.  Anyway, I was reading one of my favorite free embroidery sites at About.com, and came upon this pattern by Cheryl Fall.  It just hit me across the head, and said..."Try me"!  Here is what I am talking about:
The Fall Acorn Medallion Embroidery by Cheryl Falls
I drew the pattern out using pencil onto muslin, by re-scaling it to the size I wanted, and holding the muslin up to the computer screen to trace it.  It uses a few different stitches, but I have enjoyed filling in the bottom of the acorn with the chain stitch.
Next will be filling in the top of the acorn with a laid filling stitch.  Luckily I had suitable thread colors lurking in my stash!  I got my kit of traced design (thanks, Cheryl), threads, needle and small scissors into a zip lock baggie for portability and keeping it all clean.

Here is the photo Cheryl has on the website.
It just signals the start of cooler air, and I am so ready for fall!
Let the season begin! (soon).

I love About.com's embroidery section!  It is worth checking out!  For sure!

Happy Sunday to you all.
Julie